PROCESS1--PRODUCING AS MANY AS DRAFT IDEAS:
CONCEPTUAL SPACE--A


CONCEPTUAL SPACE--B


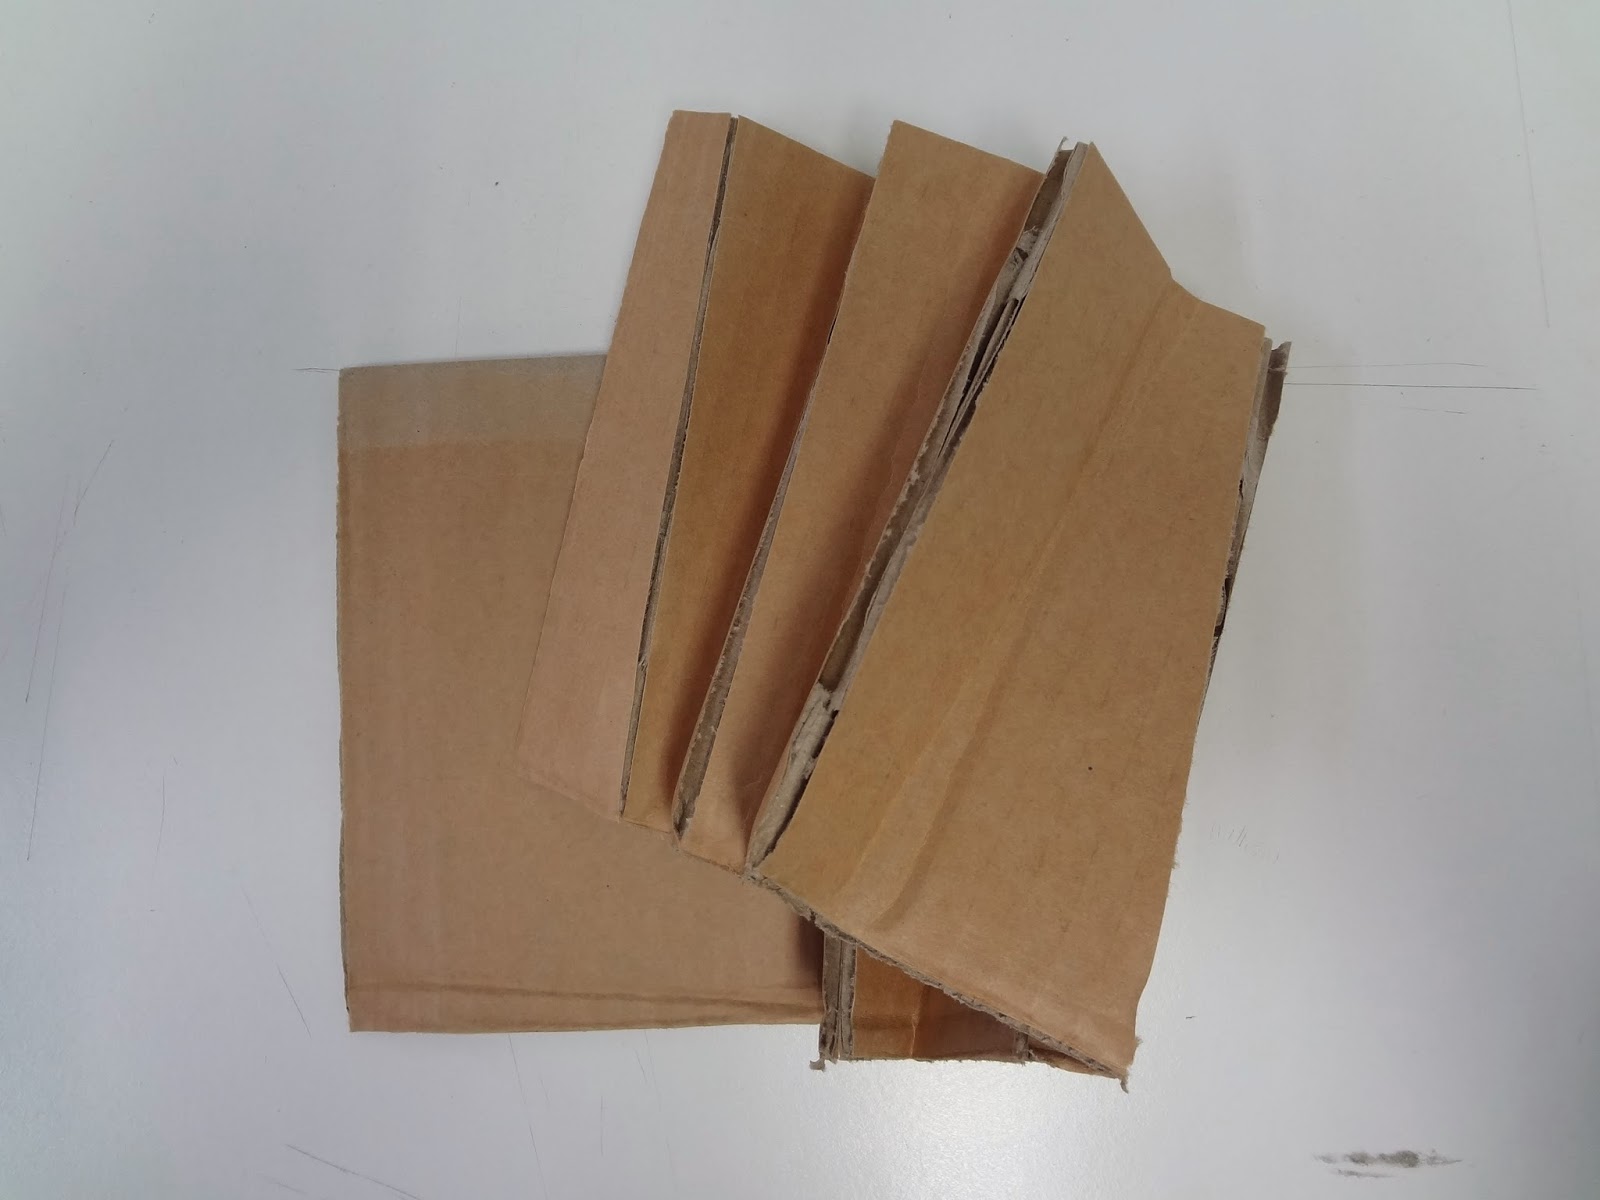
CONCEPTUAL SPACE--C


PROCESS 2--CHOOSE 3 MODELS OUT OF MANY DRAFT IDEAS:
CONCEPTUAL SPACE--A


CONCEPTUAL SPACE--B


CONCEPTUAL SPACE--C


PROCESS 3--ILLUSTRATE HOW THE 3 DESIGN EXAMPLES COULD BE TRANSLATED INTO EACH OF THE 3 SPACES (i.e., min of 9 different design concepts are illustrated):
CONCEPTUAL SPACE A in SPACE 1


CONCEPTUAL SPACE B in SPACE 1


CONCEPTUAL SPACE C in SPACE 1


CONCEPTUAL SPACE A in SPACE 2


CONCEPTUAL SPACE B in SPACE 2


CONCEPTUAL SPACE C in SPACE 2


CONCEPTUAL SPACE A in SPACE 3


CONCEPTUAL SPACE B in SPACE 3


CONCEPTUAL SPACE C in SPACE 3


BRIEF
Analyse the spatial qualities of the 3 given design examples. Consider the following:


FINAL PRESENTATION
Produce:


Analyse the spatial qualities of the 3 given design examples. Consider the following:
- Design elements and principles
- Spatial arrangements
- Spatial hierarchy
- Spatial manipulation
- Arrangement of interior design elements
- Use sketches to do the analysis – put these in your sketchbook /visual diary.
- The design challenge is to reinterpret the design examples into the irregular spaces represented by the 3 floor plans.
- You are not to simply transpose the interior design elements from the examples into the new spaces. Rather you are to determine how the space has been organized/manipulated according to design principles and then reinterpret this into a new and creative space that is conceptual in nature ie doesn’t necessarily have a function or use. You may use as many or as little of the interior elements, translating them into a different shape, size or translucency. Your conceptual spaces will not be a copy of the original examples - but must achieve the same spatial qualities
- The floor plans are 1:100 scale. The ceiling height can vary but 3 metres is standard. You may cut into the walls to create new openings, but not totally remove. Imagine a space where people can move around such as an installation in an art gallery.
- Note: You are to use your sketchbook throughout design methodology to sketch ideas, record feedback, add inspirational images, relevant examples and comments. This will be included as part of your assessment for design methodologies and the design process.
FINAL PRESENTATION
Produce:
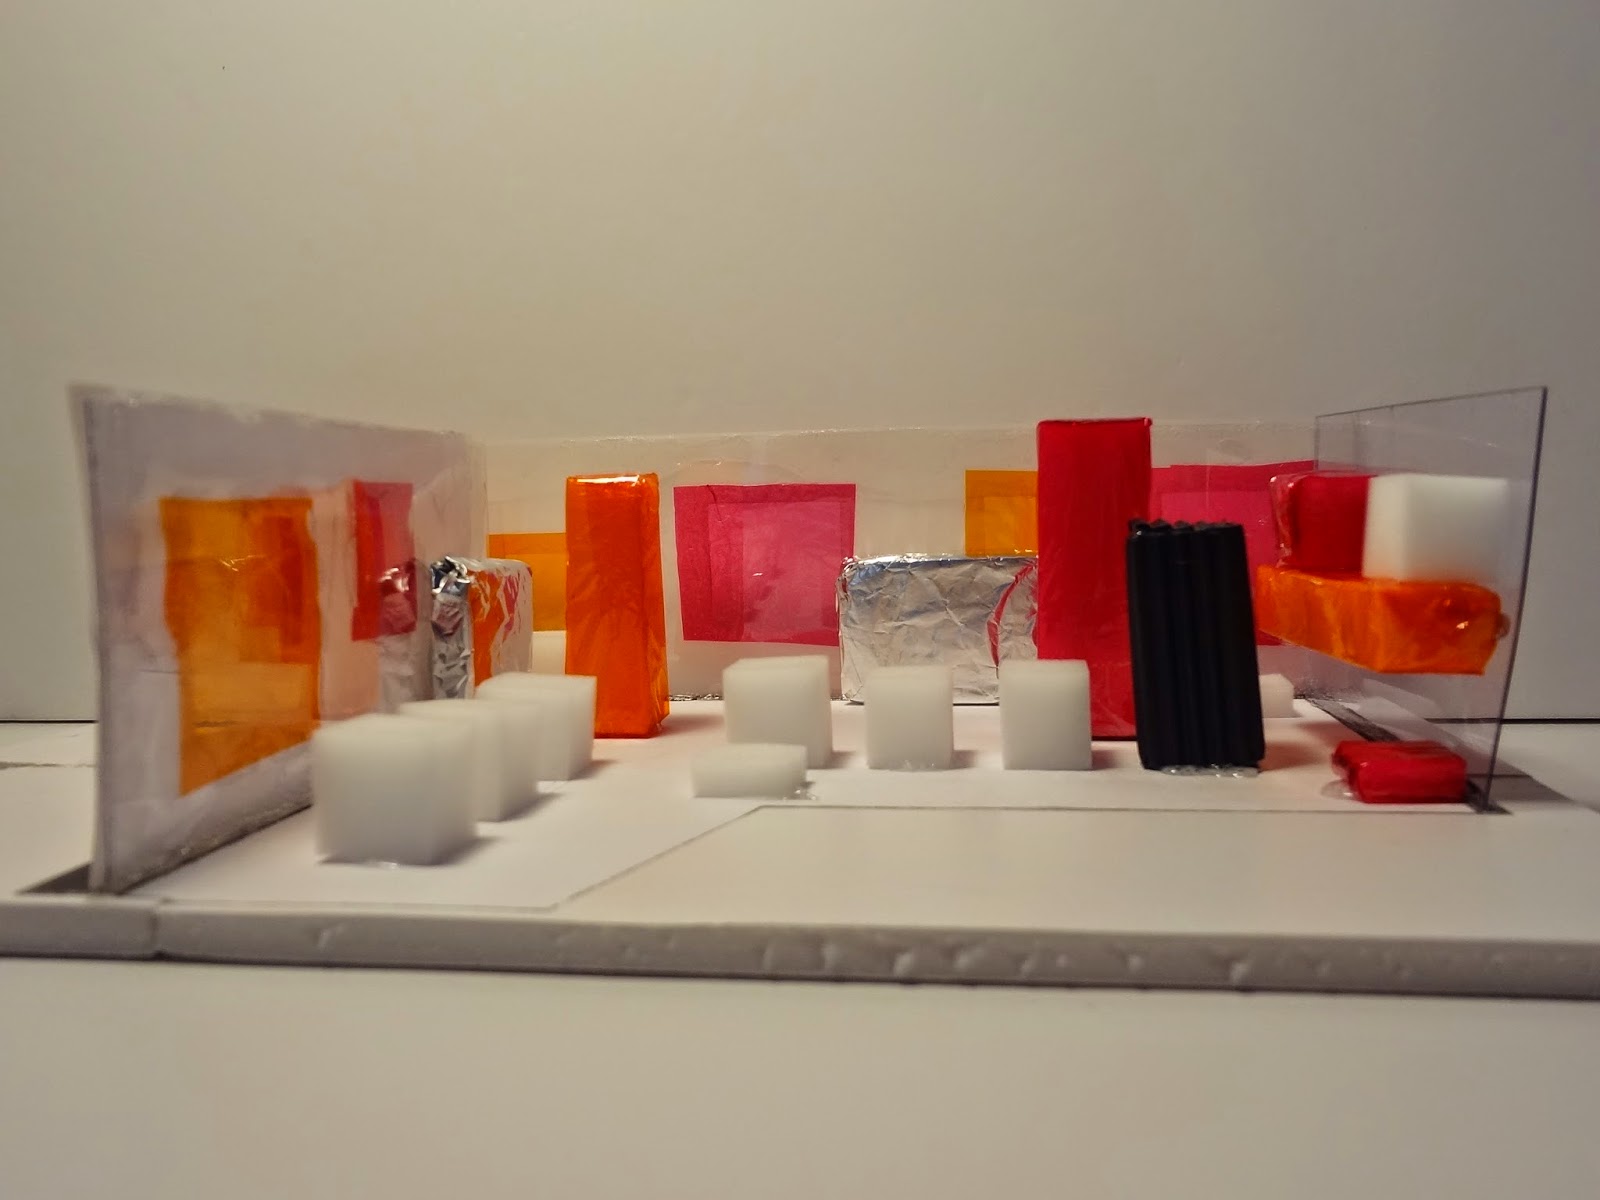
- A detailed model scale 1:50 (or as appropriate) indicating materials and finishes
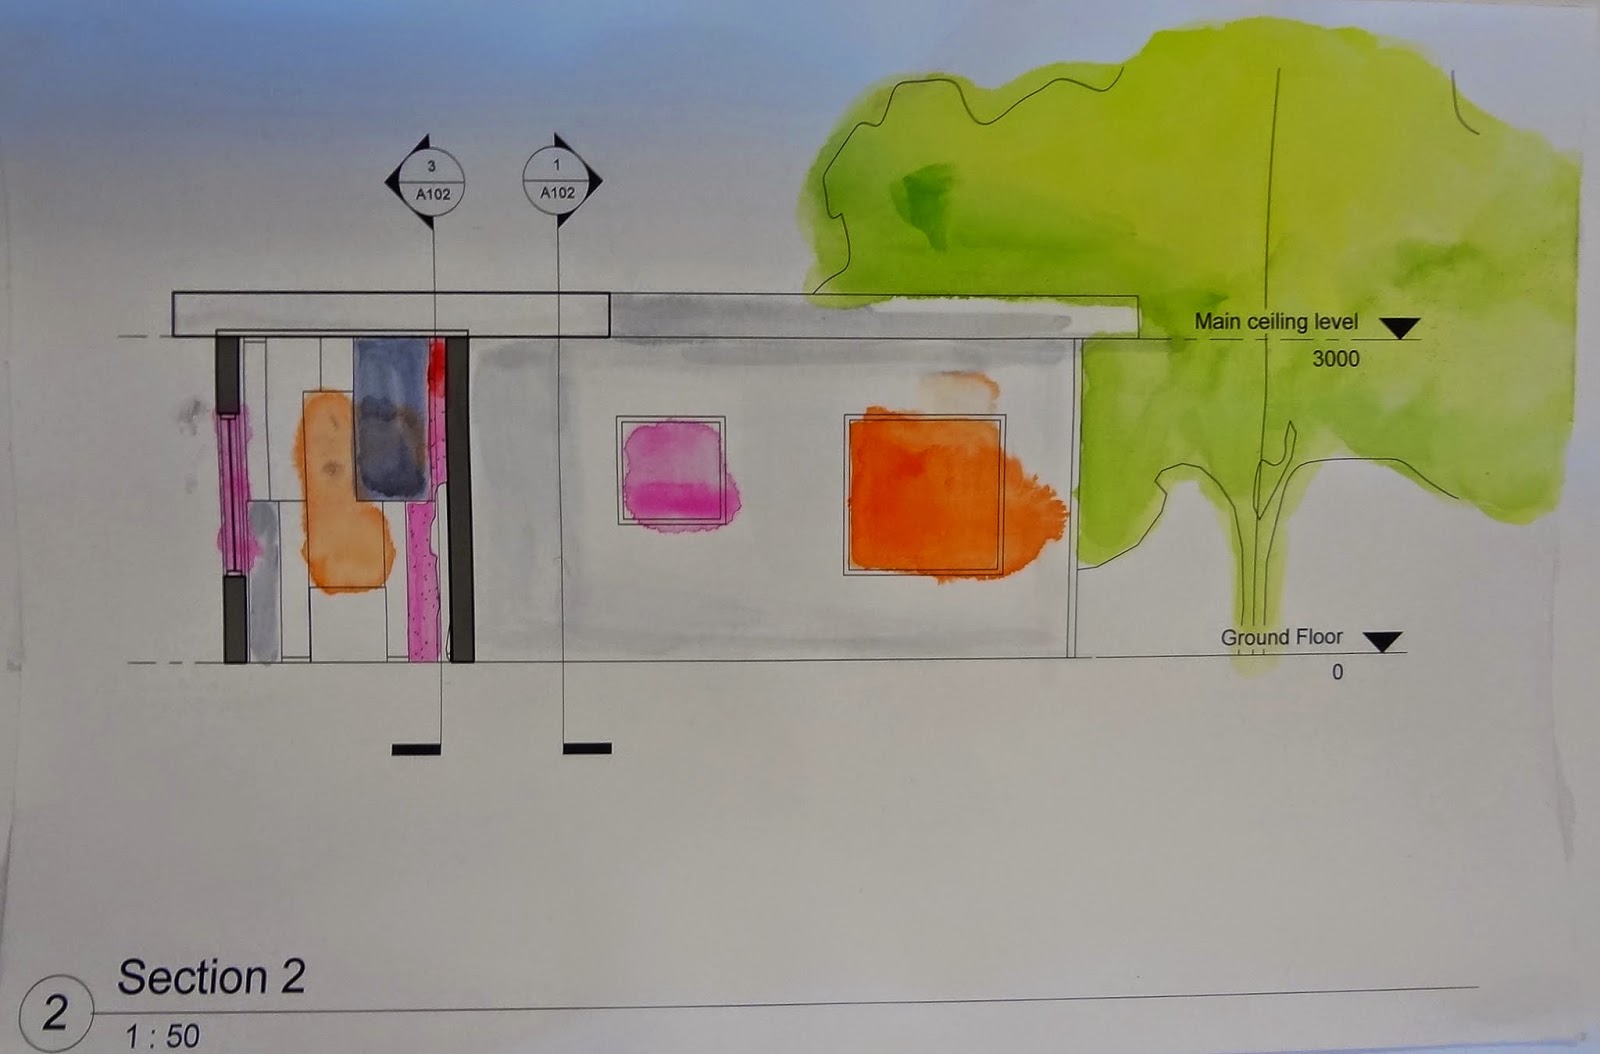
- Rendered plans and elevations/sections 1:50 or as appropriate
- An informative rendered perspective including figures to suggest scale, finishes, materials and lighting both natural and artificial effects
- Sketchbook
- Present on coordinated A2 boards with a prepared verbal presentation. Note: Completed student self evaluation form (attached)